
Adobe’s Lightroom is undoubtedly the leading professional photo workflow software. But which lightroom should you use? It is available in two versions: Lightroom for enthusiasts and Lightroom Classic for professionals (the subject of this review). The latter provides working photographers with unsurpassed tools for importing, organizing and correcting each captured photo, as well as managing connected shots and local printing with serenity. Lightroom Classic receives a rare five-star rating and our Editors’ Choice award. If cloud synchronization is an important part of your workflow or if you prefer a more modern user interface, the other Lightroom is also a winner of the Editors’ Choice.
A tale of two lightrooms
Reinvented with the release of Lightroom (without the “classic” in the name), the program that photography professionals have come to know and love has a younger, simpler sibling. Lightroom offers a clearer user interface than Lightroom Classic, but it lacks some tools that professionals expect, including local printing, plug-in support, and connected recordings. Professionals should stay with Lightroom Classic, the true heir to the Lightroom throne, which has all the historical features of the software.
However, the new lightroom is not without an audience. It is best suited for consumers and enthusiasts who want top-notch editing tools in a cloud-based app, as well as professionals who don’t need printing or tethering. Fortunately, now you can work with photos from local storage instead of having to upload everything to Adobe’s cloud.
Another difference between the two is the focus of the new Lightroom on the community via the “Discover” tab. In this section, you can share not only your photos (PG-rated), but also your edits. You can even re-edit (or remix, as Adobe calls it) other people’s photos, view animated readings of other photographers’ editing processes, and download editing sets as presets. Like Photoshop, both Lightroom apps now have limited features for adjusting colors, lighting, and cropping videos.
What’s new in Lightroom Classic?
For the recent update, version 14, Adobe brings the following improvements for the professional photographer’s best friend:
Content registration information (early access). Check the origin of the images and change the history via a digital signature of your exported photos.
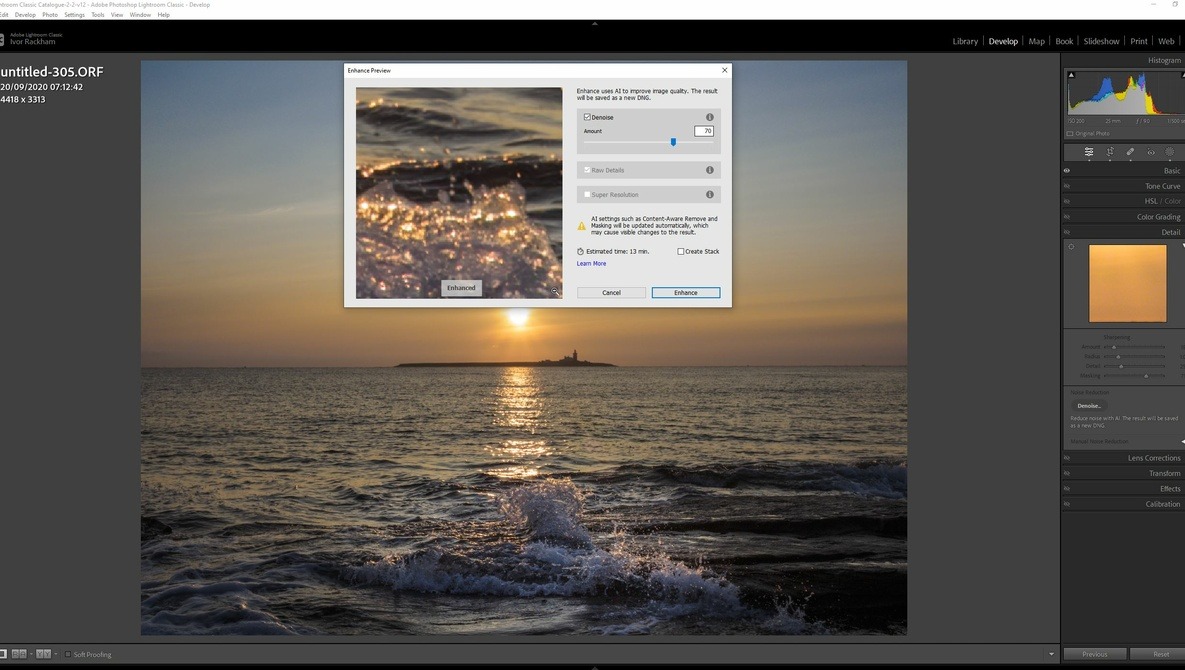
Denoise Supports More File Formats. These include HDR, panorama, ProRAW DNG, Samsung Galaxy Expert Raw and more.
Easier catalog upgrades. You no longer need to create a catalog file with a new name when upgrading from Lightroom Classic. Instead, the program will automatically create a backup copy of your previous catalog. This is useful because Lightroom Classic updates often require a catalog upgrade.
Setting up Lightroom Classic
To install Lightroom Classic, you need a fairly up-to-date operating system. It supports Windows 10 (version 22h2 or higher), Windows 11 (version 21h2 or higher) or macOS 13.1 or higher. It now works on Apple silicon-based Macs, but not natively on Windows on Arm computers (which the other Lightroom does). However, benchmarking shows good performance on Qualcomm Snapdragon-based Windows on Arm PCs via emulation. Both versions require a 64-bit operating system and at least 8 GB of RAM (Adobe recommends 16 GB).
When you run Lightroom Classic for the first time, certain parts of the user interface are highlighted and basic pointers are provided. You can quickly switch between face recognition and address search for GPS coordinates and check how much cloud storage you have. By tapping on the icon could top right, the synchronization will be interrupted and continued.
Interface, import and organization
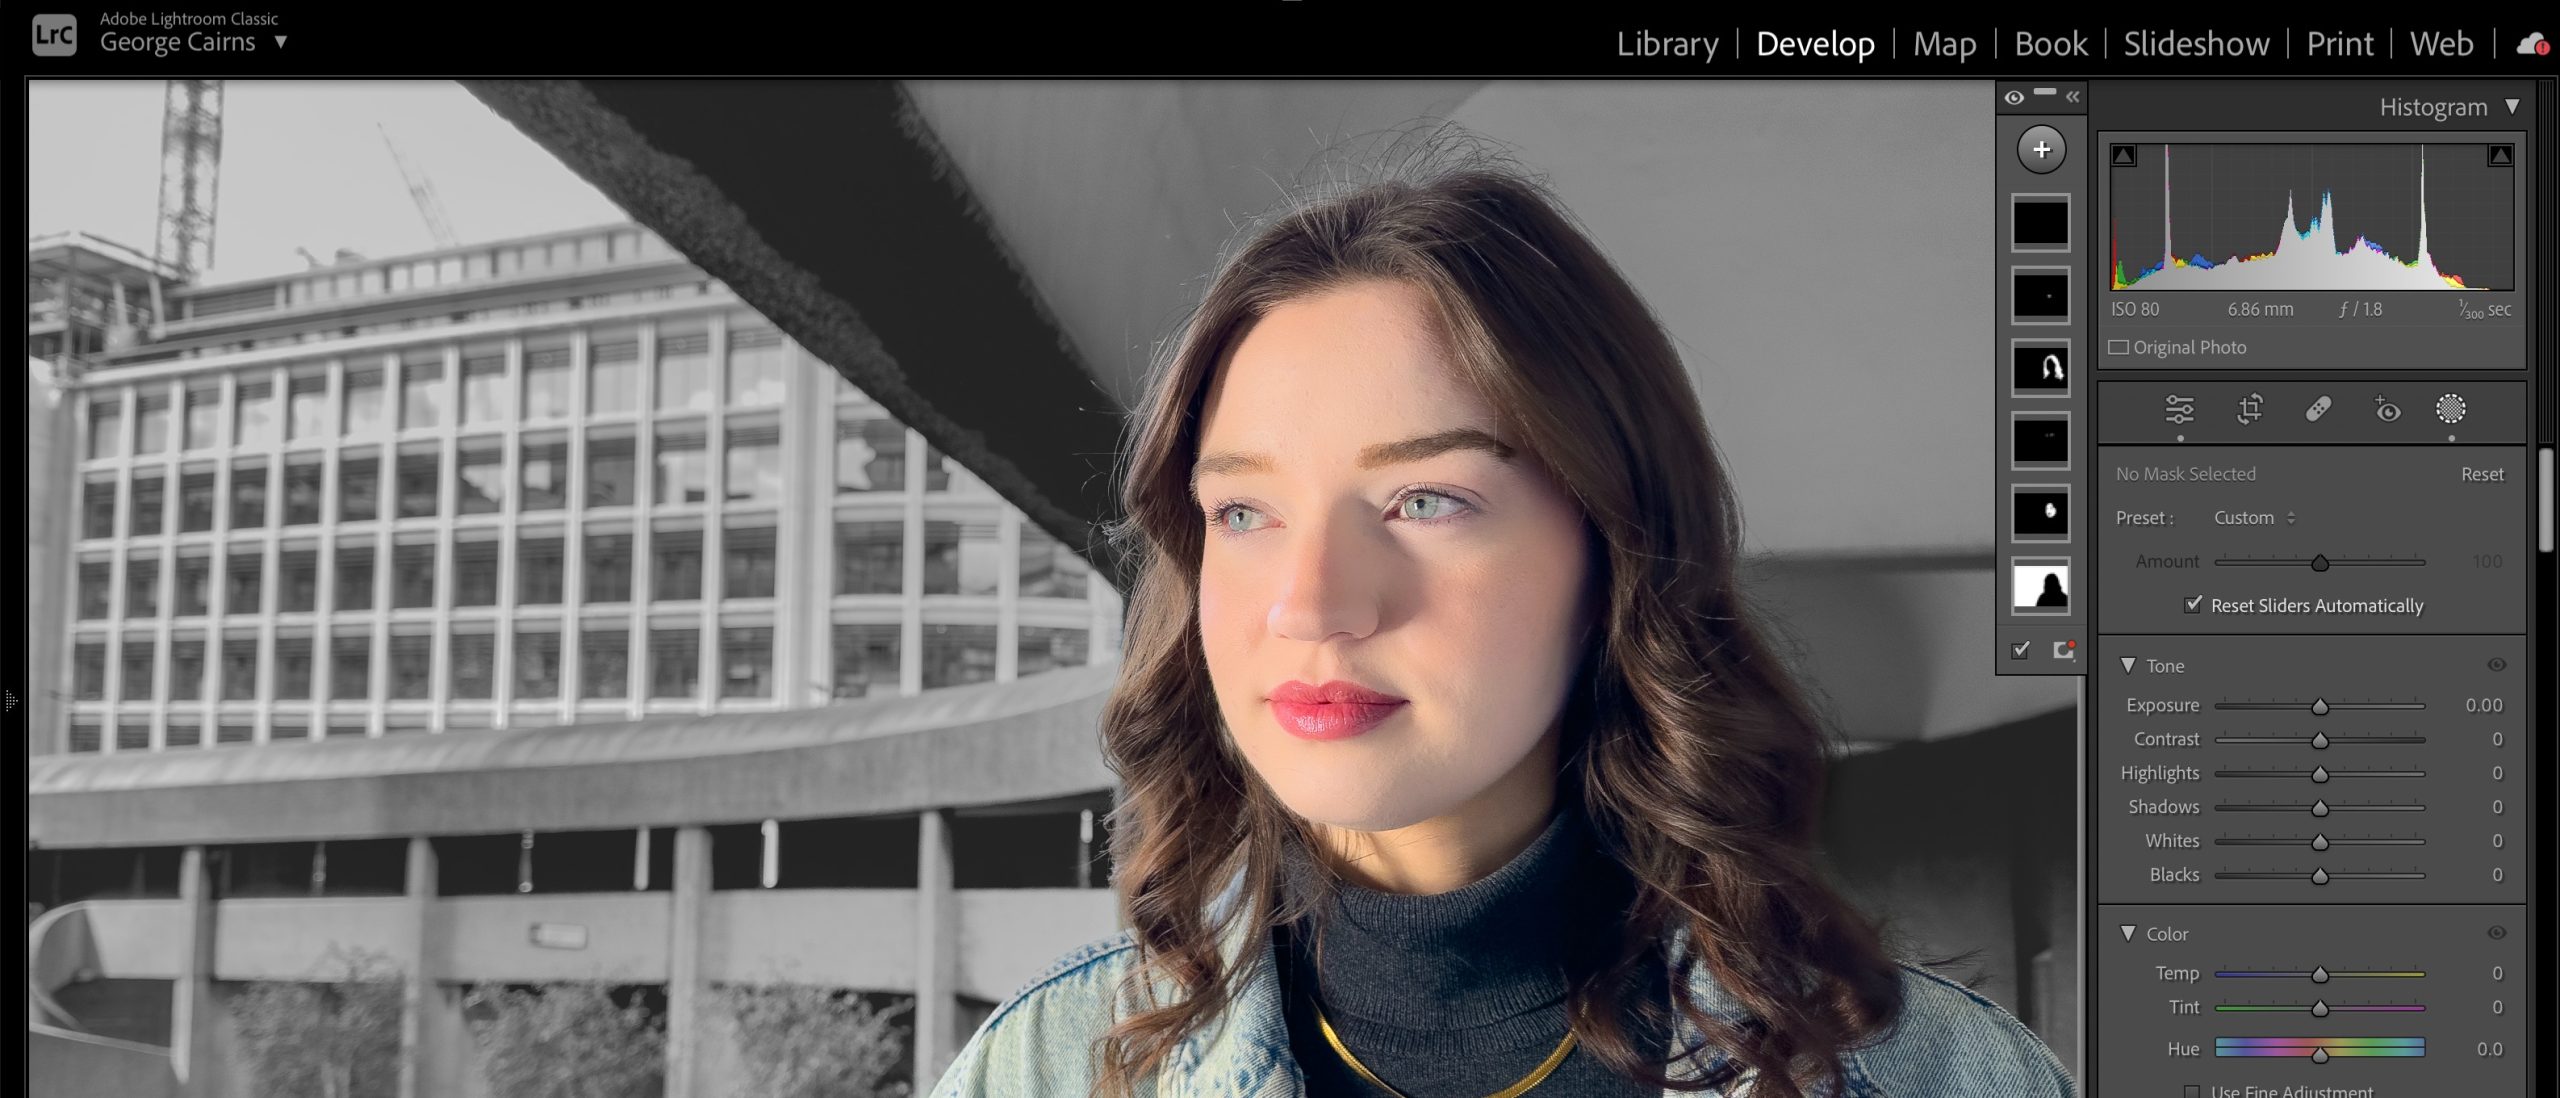
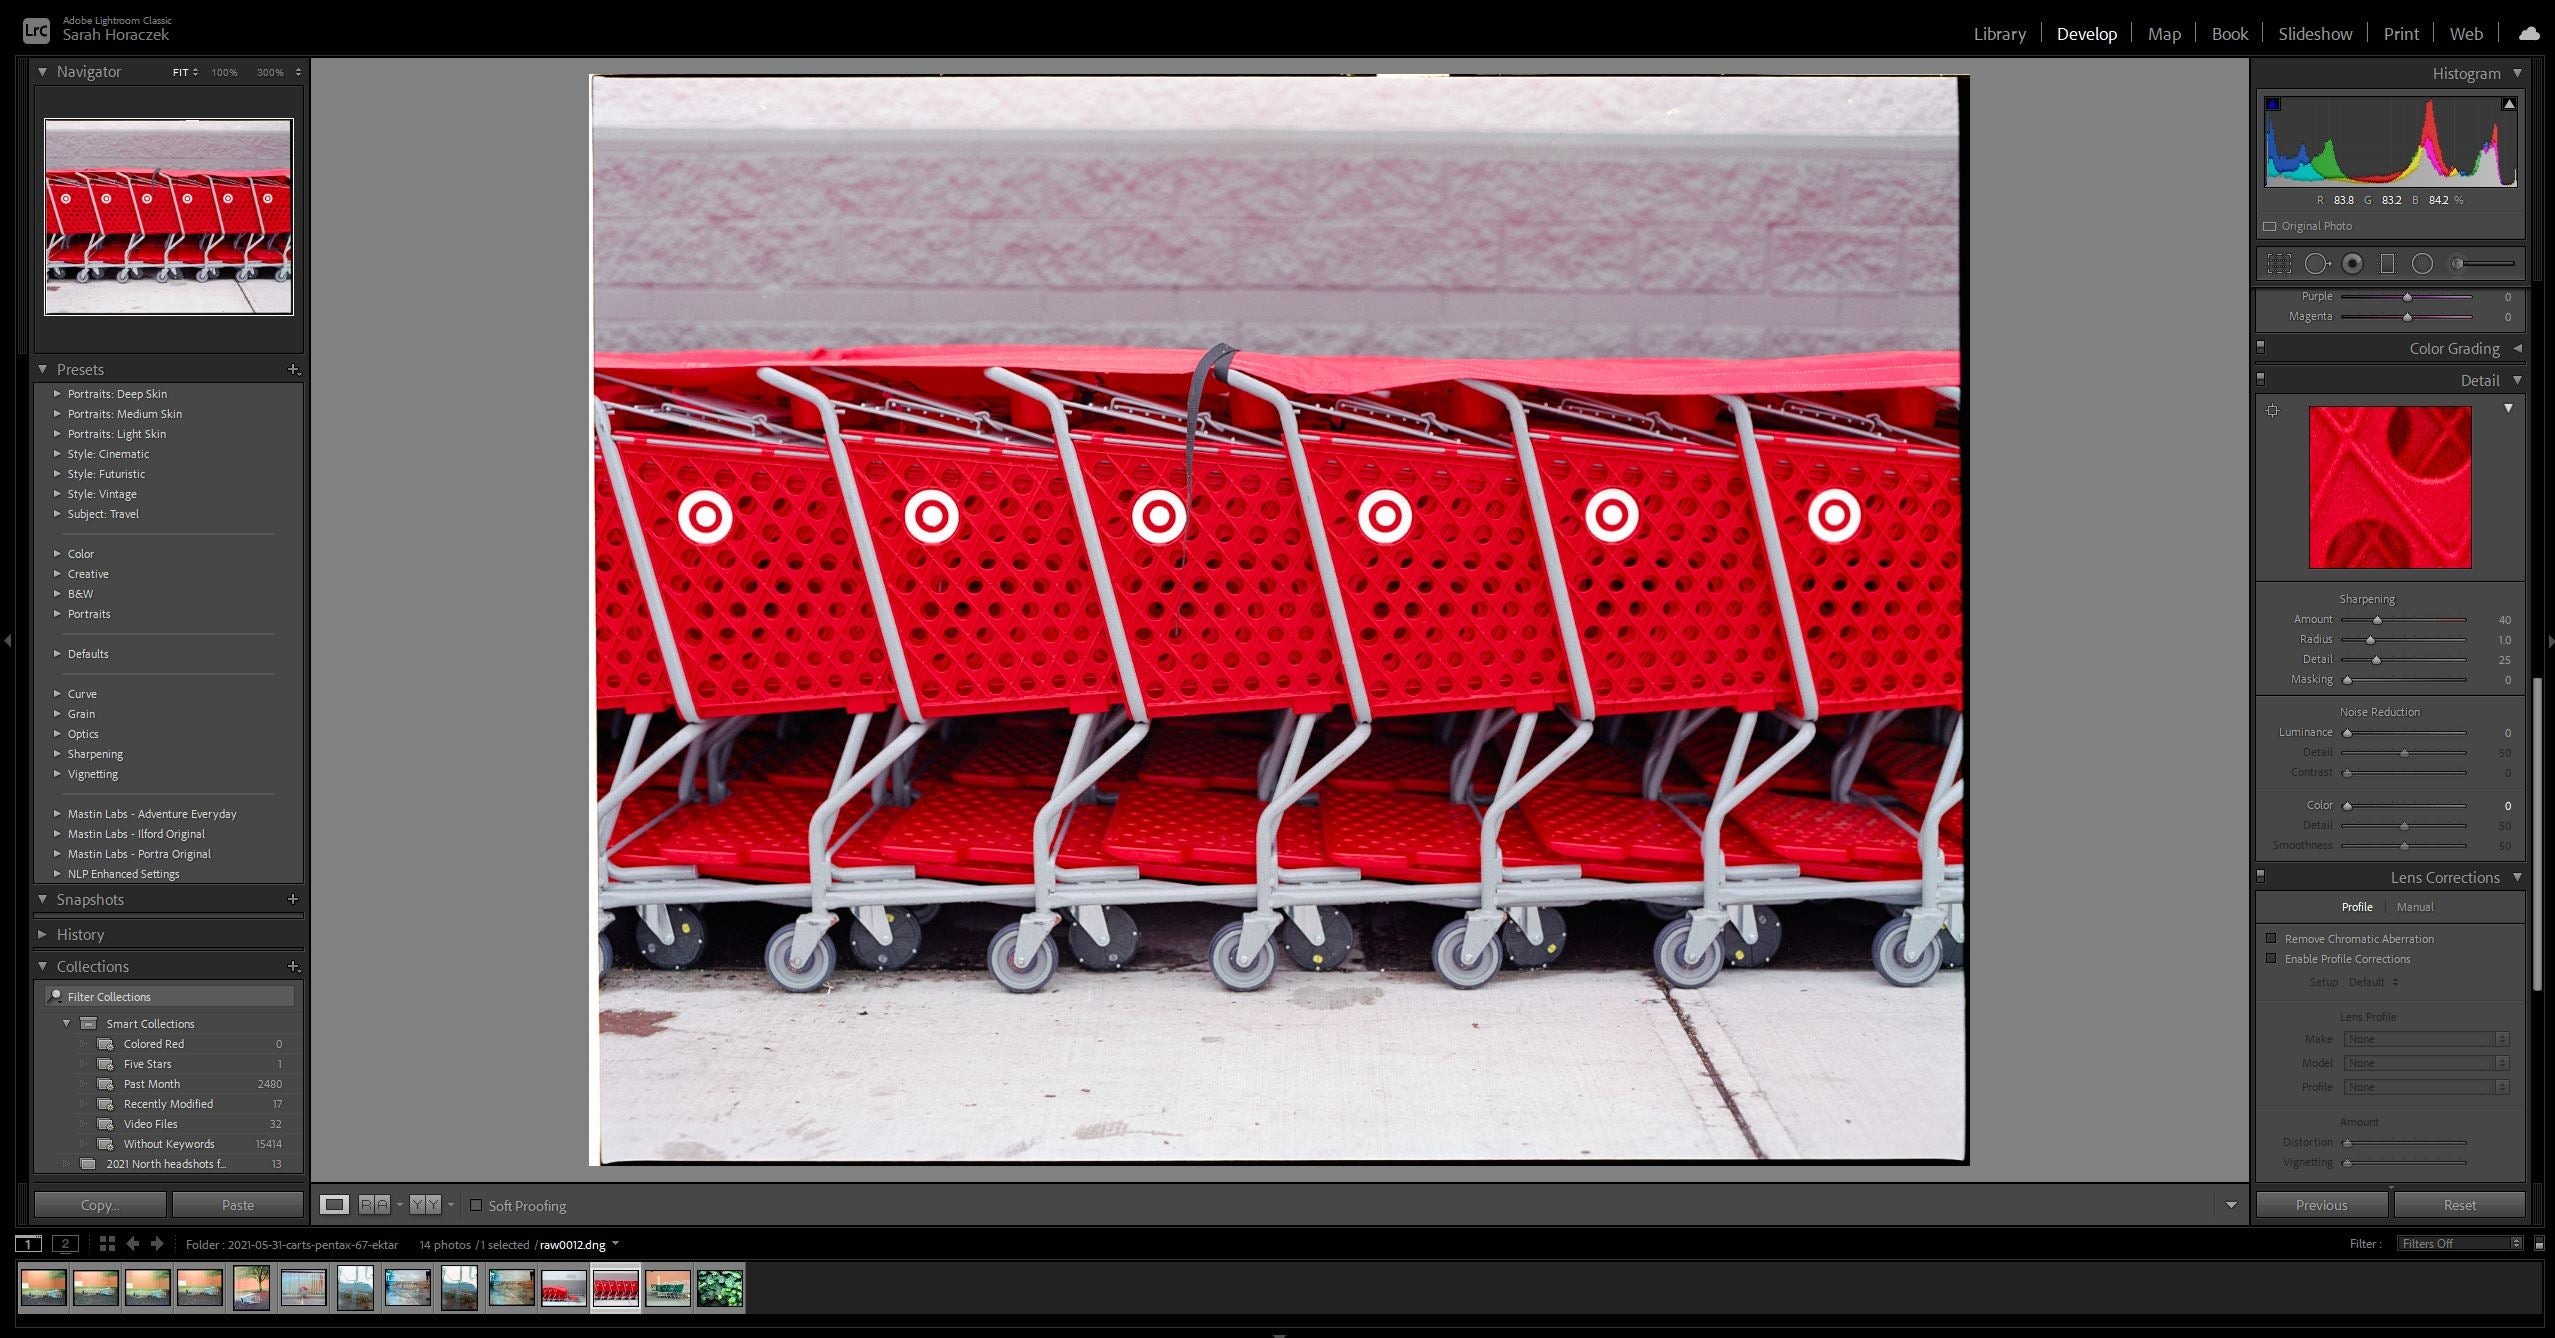
Unlike Corel AfterShot Pro and Lightroom, Lightroom Classic uses separate modes for organization (library), customization (development) and other program functions. You can turn on and off the mode entries in the upper left (and even change their font). By default, the modes now include Library, Develop, Map, Book, Slideshow, Print and Web.
The interface has control panels on both sides, as well as at the top and bottom, which you can hide by pressing a convenient triangle button. You can also select the tools that will be displayed on the side panels. Some full-screen options are available with and without menus. Pressing L on your keyboard will take you to the lightbox view, which hides everything except your photo.