It’s easy to repair old family photos to remove cracks, stains and color deterioration with Photoshop’s photo recovery tool. We will show you how to use it.
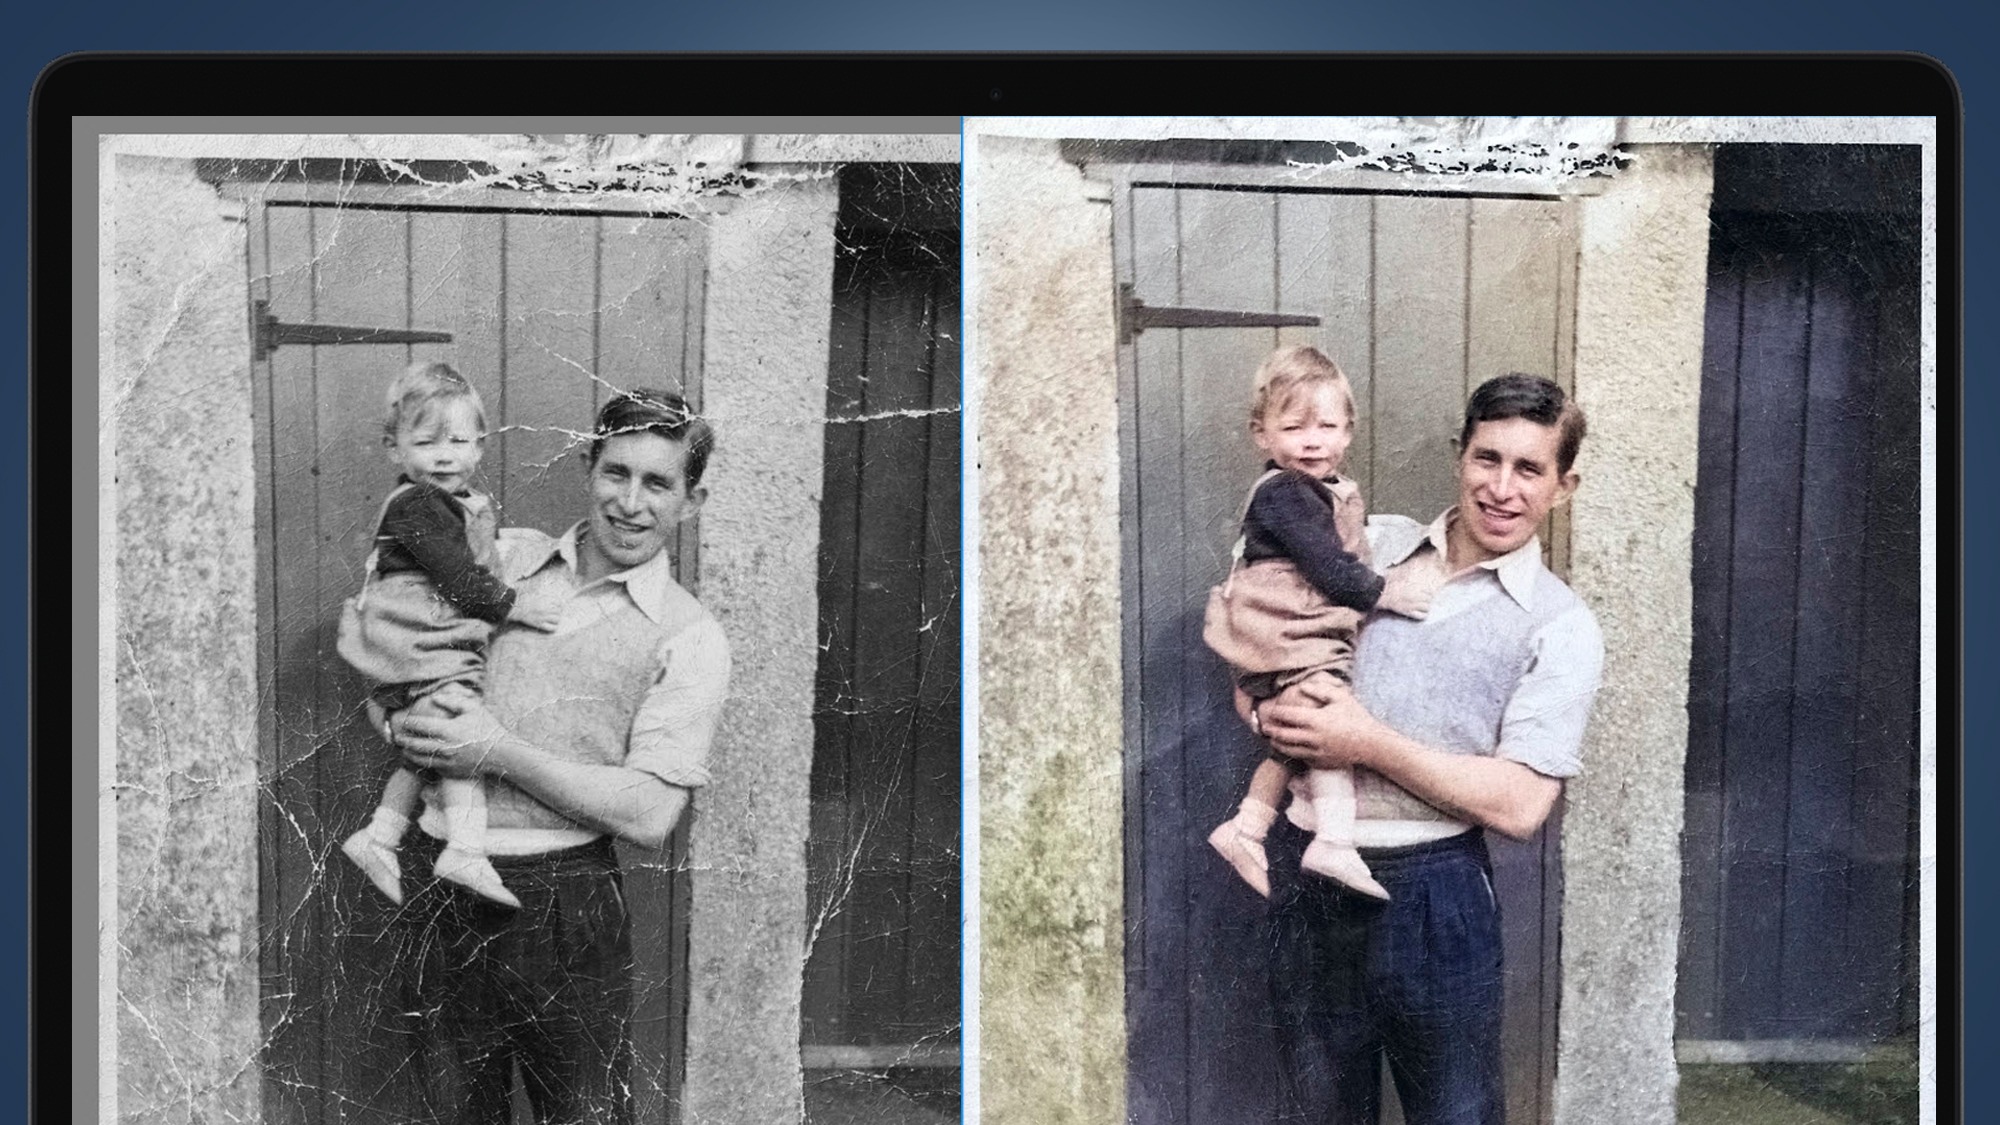
Some of your most valuable pictures may be at the bottom of the drawers or in a box in the basement. These are photos that were printed days before smartphones served as digital cameras. Since these old photos are body and not digital, they are prone to wear and rot. Colors change, cracks appear, and stains spoil the pictures. Adobe Photoshop can now use its artificial intelligence to perform a remarkable photo recovery when you make digital copies of these photos and restore them to their former realistic luster.
Photoshop now includes a photo recovery filter, which I’ll show you below. As impressive as it is, it sometimes allows you to perform only part of the full recovery and optimization of damaged photos. I will also show you how to access the nirvana of photo recovery with other Photoshop tools and how to easily convert a black and white image to color.
1. Scan the photo
To work on an image in Photoshop, you need a digital file, so first scan the old photo. In this linked article you will learn in detail how to get the best possible analyses. Nowadays, most printers are also scanners, and many offer high-resolution scanning.
To summarize the steps: wipe off dust with a soft microfiber cloth, make sure the scanner bed is clean, and scan at the highest possible resolution. A good option is to save as a 600 dpi TIFF file, although you can also work with a high-quality JPG. If someone sends you a photo file that is not of very good quality, you will have to work with what you have.
2. Open the image in Photoshop and create a double-layer
Drag the background layer to the New Layer button, or right-click and select Duplicate Layer from the context menu if the cursor is on the background layer. The goal is to make all your changes on a higher layer while keeping the original scanned image intact in the background layer.
![]()
3. Open the Restore Photo Filter
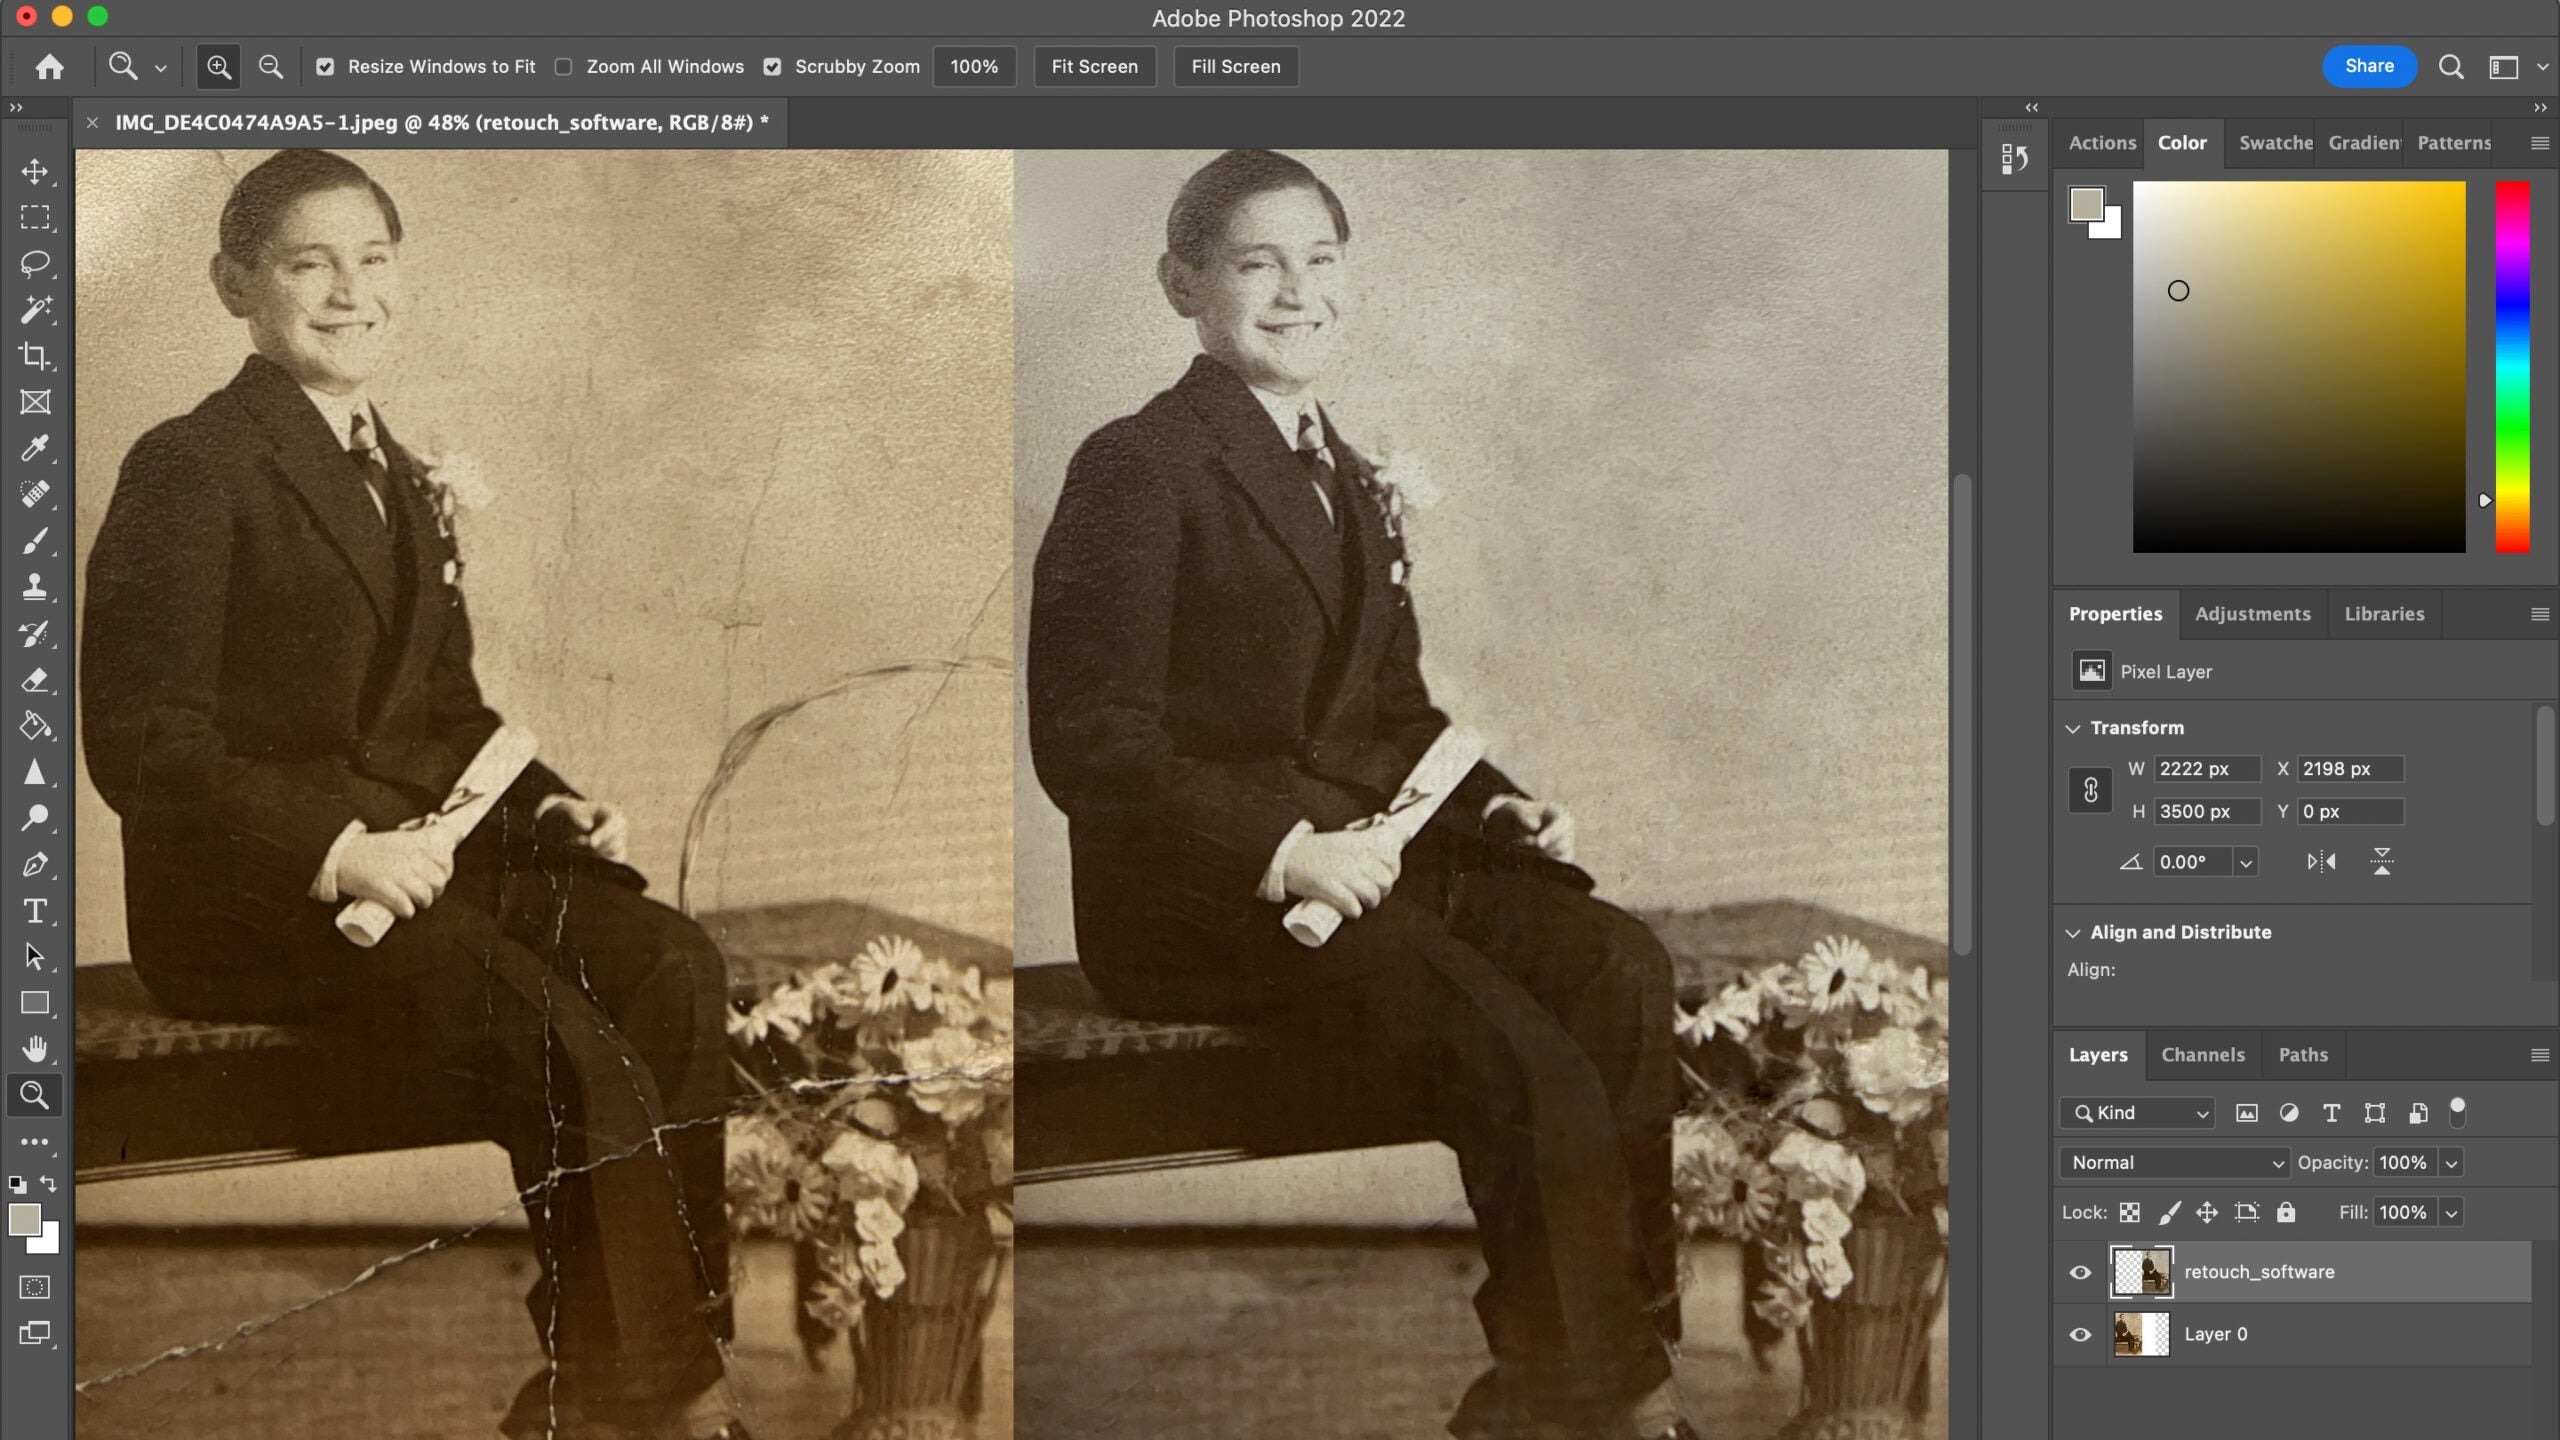
Once the duplicate layer is selected, go to the Filters menu, select neural filters and a panel with all AI filters in Photoshop will appear. You need to slide the switch next to the name of the filter to activate it. To see the minimum and maximum effect, move the photo enhancement slider back and forth. It improves both lighting and color. In my test photo, the sepia of the original was changed to a more neutral black and white. I found that turning to improve the face at the very top sharpened the image too much. The Restore Photo Neural filter is still marked as beta, but I had no stability problems with it, except that my video card could not be used (although the Photoshop settings showed it as activated) and it took about 15 seconds to complete.
4. Alternative Option: Wound healing brush and wound healing tools
The healing brush tool in Photoshop gives you a more targeted way to correct scratches, and the stain healing brush does the same for stains. When I use these tools instead of the photo recovery filter, I keep the jacket buttons in the sample photo. To use this method, apply the lighting and sharpness corrections of the photo recovery filter without activating the scratch reduction. The video above shows where these tools are located and how to use them after restoring photos. You can see that the buttons of the jacket remain. When using the healing brush, you need to select a source area for the filling with Alt-click, and you may have to go through the scratch more than once. When using the stain healing brush, just click on the annoying stains.
5. Bonus step: colorize the photo
To really bring the twentieth century, you may want color, although black and white photos have their own charm. While colorizing photos has been a tedious process for years, Adobe has another great AI tool up its sleeve for this. Go to neural filters, and again you need to move the cursor next to the name of the tool to make it work. Although he correctly reproduced the grass and skin tones in the test photo, the color was oversaturated. You can reduce the saturation using a slider in the control panel. And if you really want to spend time on it, you can add color manually, although I found it difficult.